A time log to keep track of progress.
''Quality means doing it right when no one is looking.'' (Henry Ford)
| Date | Progress |
| 15th December 2009 | William Wynne Corvair conversion manual ordered. |
| 1st January 2010 | Web site built. |
| 14th January 2010 | 1965 Corvair 164 Cubic Inch engine block on its way from the USA. |
| 20th January 2010 | Corvair engine block & 65 shop manual arrived. |
| 20th January 2010 | Plans on the way from Andrew Pietenpol. |
| 5th February 2010 | Ordered LAA approved supplements from Jim Wills. |
| 24th February 2010 | LAA approved supplements from Jim Wills arrive. |
| 5th March 2010 | Tonight I started drawing the Rib template which will then serve as the jig pattern to build the Ribs in. I am using a jig to hopefully make sure all the Ribs are built the same. |
| 7th March 2010 | 100 x 72" lengths of 1/2" x1/4" Spruce cap strip ordered from Aircraft Spruce in the USA for wing ribs. |
| 14th March 2010 | I have finished drawing the rib template for the jig. |
| 21st March 2010 | Today I had the discovery of the year! I had a tour of a storage facility containing a quantity of aircraft grade spruce just 3 hours away from me in Newcastle, NSW. Tom who is the owner of this spruce is more than happy to receive calls if your interested in purchasing some for your project. Ph: 02 49696464. |
| 23rd March 2010 | Spruce cap strip arrived from Aircraft Spruce in the USA for wing ribs. |
| 25th March 2010 | Made the cap strip bending jig and a capped PVC tube to soak the spruce cap strip in so it can be bent. Trialing first strip........... |
| 29th March 2010 | 10 top rib cap strips now bent......22 to go..... |
| 30th March 2010 | While still bending cap strips...... I have started screwing the blocks on the rib template to hold the capstrip in place for glueing..... |
| 1 - 4 April 2010 | Attended Natfly in Temora for the annual fly in. Lots of plane porn! |
| 10th April 2010 | Made the jig to bend the bottom capstrip of the ribs. Nearly finished bending the top strips then start bending 32 of the bottom strips. The jigs only hold 3 strips at a time so takes a while..... |
| 11th April 2010 | Assembled first rib. Will now use these parts as patterns to cut out capstrip for all 32 ribs..... Started cleaning the little rust that has accumulated on the cylinder studs on the Corvair block. Will get these cleaned up and prime them..... |
| 15th April 2010 | Last two pieces of top rib cap strip soaked and bent!.....Now bottom to go.... My handy wood working friend carefully planed 2 blocks of wood to exact measurements for the jig where the spars will fit through the ribs. Once I have glued all the ribs I will send these to the chap I am buying the spruce from so the spars can be planed to the same dimensions. Thanks Norm for your hard work! |
| 15th April 2010 | All top capstrip are cut to fit and started on the other rib pieces.....there are a lot of little pieces in one rib!...x 32!... |
| 26th April 2010 | At the moment its too labour intensive to detail every day. I am currently spending as much time as I can each day cutting out rib parts till I have a full set, then will start gluing. |
| 7th May 2010 | All capstrips are cut for the ribs. Waiting on ply to arrive so ribs can be assembled. Just ordered the flight instruments today. |
| 10th May 2010 | According to the Fed-Ex site, my T-88 Glue, Nails & Instruments are vacationing briefly in Honolulu! So I made a mock up of the hinge arrangment for the elevators and rudder using AN eyebolts. |
| 12th May 2010 | Instruments, Glue and Nails have landed... |
| 15th May 2010 | Measured all the gusset's on the rib so I can cut the ply in to strips on a table saw. I am still trying to source a reasonably priced supplier of AS2272 AA-A Bond Marine Grade Hoop Pine ply in 1.5mm.....There are a total of 1088 gussets to be cut out! |
| 28th May 2010 | Progress again! Zenith Timber Industries in Queensland are going to supply me with the Ply! They are waiting approx 2-3 weeks for the 1.5mm sheets to come in and Dave Brown who runs a laser cutting business cutting Radio Control plane kits has kindly offered to collect it when he is up there....Good stuff! |
| 9th June 2010 | ...While waiting for the Ply to arrive I thought I would whip up a Sunday flyer! Sig Astrohog! |
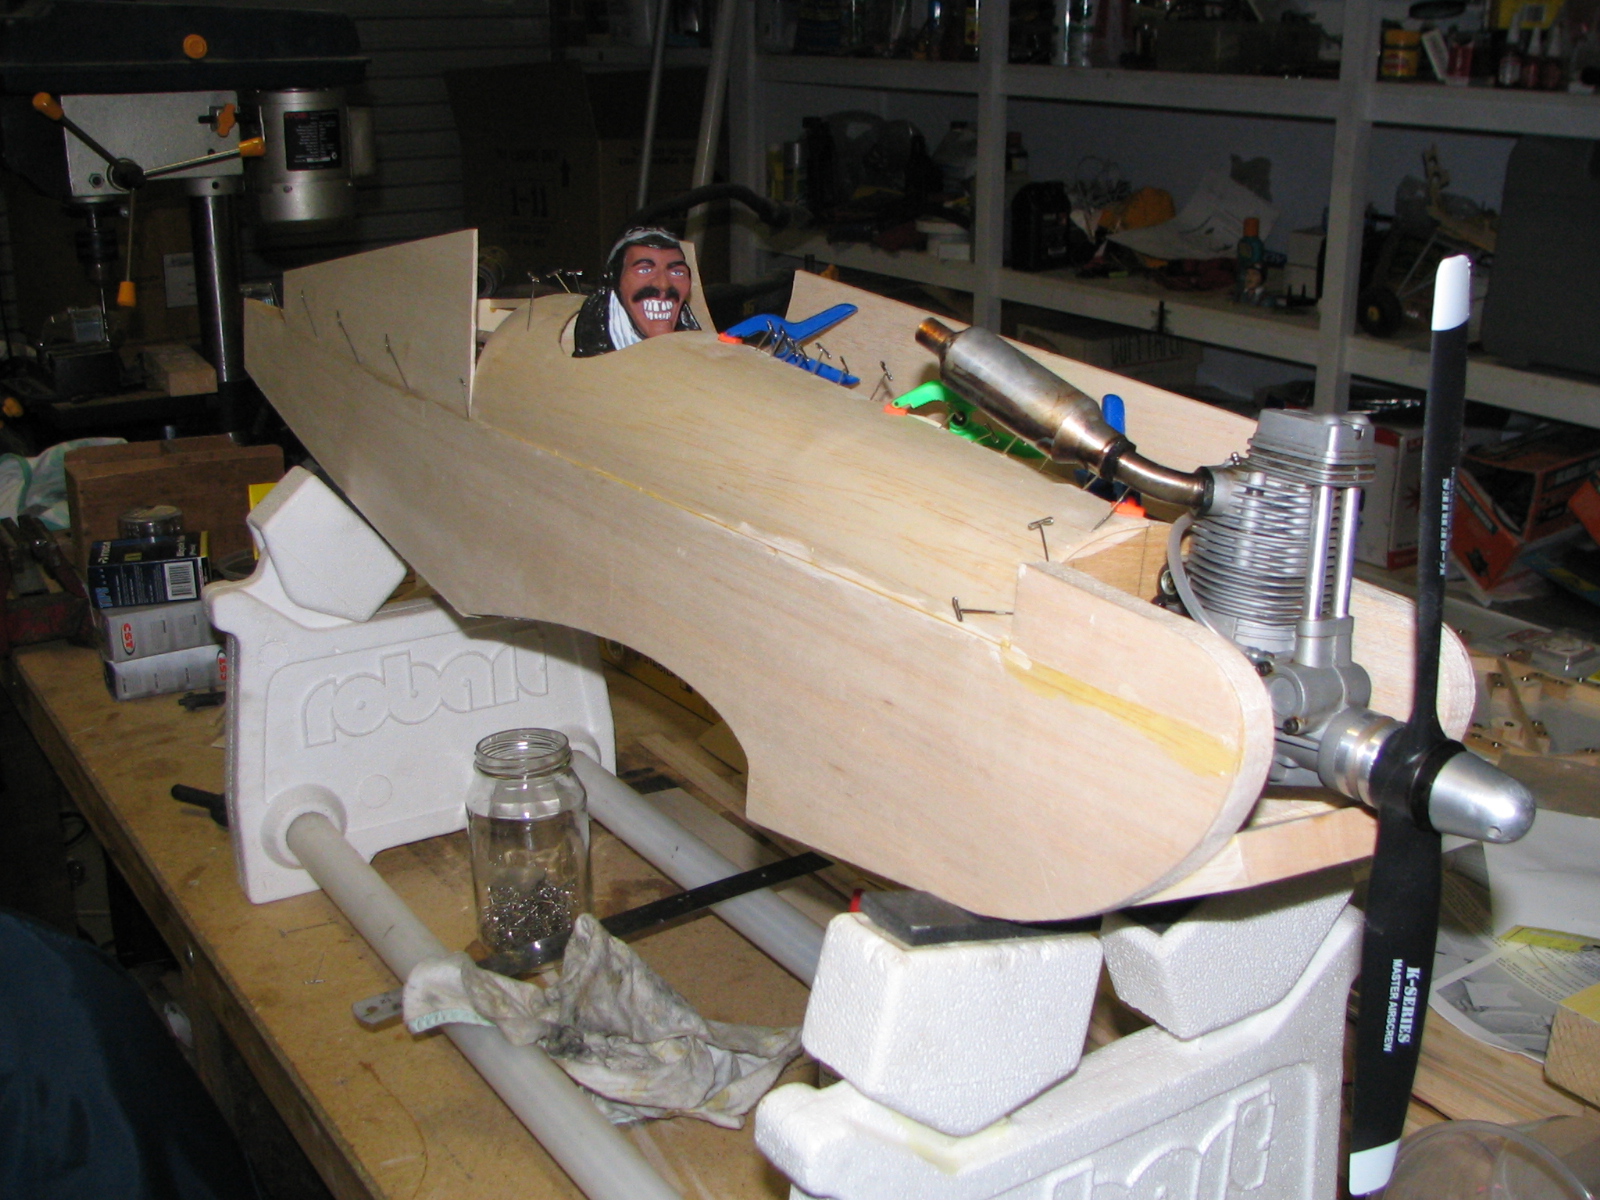
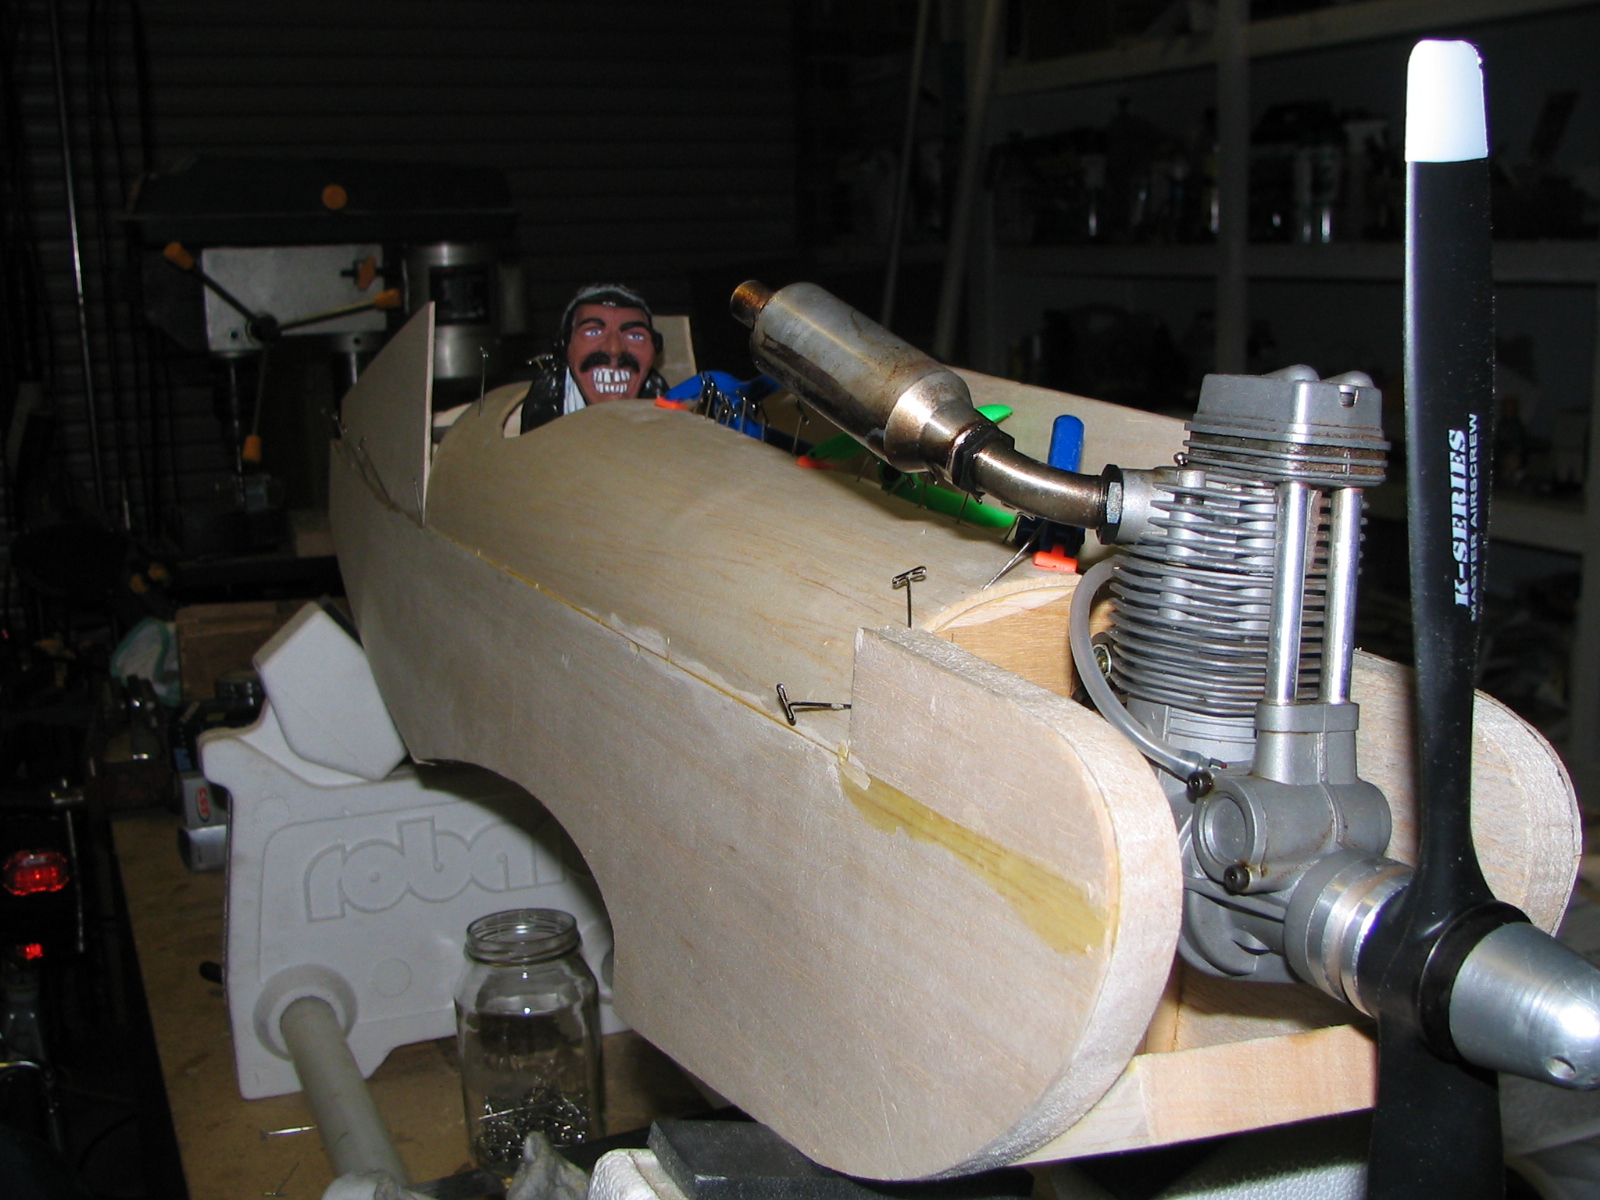
|
|
| 24th June 2010 | Progress again! I received a box full of used Corvair Parts from Fred in the USA. These parts can all be cleaned up and reused. Things like valve covers, cylinder shrouds and many more! Thanks Mate! |
| 4th July 2010 | Started soaking the push rod tubes in solvent degreaser. They are coming up well! Once degreased I am cleaning the surface rust off with a wire brush wheel and then will paint them. |
| 5th July 2010 | Dave Brown arrived today with some sheets of AS2272 AA-A Bond Hoop Pine Ply. Thanks Mate!...Just waiting on the 1.5mm sheets which were held up by the Mill. I need the 1.5mm to make the rib gussets. |
| 6th July 2010 | Corvair valve covers and cylinder cooling baffles gone into the Chromers to be cleaned and the valve covers chromed and the baffles zinc coated and then I will paint them. |
| 18th July 2010 | Collected the Spruce for the Empenage today... |
| 28th July 2010 | Cut and glued the leading and trailing edges of the rudder. Rather than rebating a single piece I am using two pieces cut to size and glueing them together. |
| 8th August 2010 | Framed up the rudder ready for gluing... Holes have been drilled in the leading edge of the rudder for the AN Eyebolt hinges.. |
| 21st August 2010 | Rudder gussets and ribs cut out. Glued the Rudder frame and one side of gussets and ribs. |
| 23rd August 2010 | Turned Rudder over and glued rest of gussets and ribs. Rudder complete! |
| 18th September 2010 | Glued Vert stab main frame |
| 25th September 2010 | Laminated spruce sections to make the top Vertical stab section. Sorted the cut spruce in to components for the horizontal stab and elevators. |
| 26th September 2010 | Cut out & glued Vert stab top section and right side ribs. Painted other side of Corvair cooling baffles. |
| 27th September 2010 | Built Elevator jig. |
| 12th October 2010 | 1.5mm Ply has arrived so rib building can continue. |
| 17th October 2010 | Glued right elevator frame & started cutting rib gussets. |
| 31st October 2010 | Glued right elevator ribs. |
| 11th November 2010 | Framed up left elevator. |
| 5th February 2011 | Cut horizontal stabiliser leading & trailing edges. |
| 13th February 2011 | Glued left elevator frame. |
| 6th March 2011 | Draw out rib gussets to be cut. |
| 15th March 2011 | Cut out wing rib gussets with hole saw. |
| 25th March 2011 | Sanding gussets in the drill ready for glueing the first rib... |
| 26th March 2011 | Rib 1 glued & left elevator ribs glued... |
| 29th March 2011 | Rib 2 glued... |
| 30th March 2011 | Rib 3 glued... |
| 1st April 2011 | Rib 4 glued... |
| 2nd April 2011 | Rib 5 glued & left elevator gussets glued... |
| 3rd April 2011 | Right elevator gussets glued... |
| 4th April 2011 | Rib 6 glued... |
| 6th April 2011 | Rib 7 glued... |
| 9th April 2011 | Rib 8 glued... |
| 10th April 2011 | Rib 9 glued... |
| 12th April 2011 | Rib 10 glued... |
| 13th April 2011 | Rib 11 glued... |
| 14th April 2011 | Rib 12 glued... |
| 15th April 2011 | Rib 13 glued... |
| 16th April 2011 | Rib 14 glued... |
| 17th April 2011 | Rib 15 glued... |
| 26th April 2011 | Rib 16 glued... |
| 30th April 2011 | Rib 17 glued... |
| 1st May 2011 | Rib 18 glued... |
| 3rd May 2011 | Rib 19 (A) glued... Upon inspection, a hairline crack was noted so this rib is scrap. Will make a nice wall talking point! |
| 7th May 2011 | Rib 19 (B) glued... |
| 8th May 2011 | Rib 20 glued... |
| 10th May 2011 | Rib 21 glued... |
| 11th May 2011 | Rib 22 glued... |
| 12th May 2011 | Rib 23 glued... |
| 14th May 2011 | Rib 24 glued... |
| 15th May 2011 | Rib 25 glued... |
| 16th May 2011 | Rib 26 glued... |
| 4th June 2011 | Rib 27 glued... |
| 5th June 2011 | Rib 28 glued... |
| 10th June 2011 | First spoked wheel laced and trued...... |
| 13th June 2011 | Rib 29 glued... |
| 15th June 2011 | Rib 30 glued... |
| 25th June 2011 | Rib 31 glued... |
| 3rd July 2011 | Rib 32 glued... |
| 9th July 2011 | Horizontal stabiliser trailing edge glued... |
| 10th July 2011 | Horizontal stabiliser leading edge glued... |
| 7th August 2011 | Horizontal stabiliser glued together... |
| 14th August 2011 | Horizontal stabiliser removed from jig & Rib 9 right gussets glued... |
| 2nd June 2012 | Cut 4130 tube pieces for front rudder pedals, bell crank & control system... |
| 30th June 2012 | Further cutting of 4130 sheet metal parts for the control stick hinge setup... |
| 18th December 2012 | Lay out left fuselage side. Glue and nail gussets... |
| 25th December 2012 | Lay out right fuselage side. Glue and nail gussets... |
| 27th January 2013 | Trim and sand both fuselage sides... |
| 28th January 2013 | Stand fuselage sides up and start joining them... |
| 2nd February 2013 | Start glueing the floor cross braces and front seat back... |
| 15th February 2013 | Floor glued on ... |
| 20th February 2013 | Fuselage removed from building bench... |
| 21st February 2013 | Further fitting out of fuselage... |
| 23rd February 2013 | Instrument stiffeners, rear seat back and top stringers glued in... |
| 3rd March 2013 | Building and fitting seats to fuselage... |
| 13th April 2013 | Made cardboard mockups of the turtle deck formers... |
| 14th April 2013 | After checking angles on the mockups, I made the turtle deck formers from ply... |
| 12th May 2013 | Lined the horizontal stab and glued the rear turtle deck former... |
| 19th May 2013 | Made the front turtle deck former and parcel tray door... |
| 25th May 2013 | Glued the front section of the turtle deck to the fuselage... |
| 2nd June 2013 | Fitted brass hinges and ring pull to turtle deck parcel tray door and glued the first stringer in place ... |
| 6th June 2013 | Made and glued the turtle deck centre supports... |
| 9th June 2013 | Cut in and glued the remaining turtle deck stringers... |
| 12th June 2013 | Sanded the ends of the turtle deck stringers... |
| 23rd June 2013 | Glued in Ash piece for mounting tail wheel... |
| 29th June 2013 | Cut out the instrument panels and frame work... |
| 20th July 2013 | Fitted Avon Speedmaster 21" tyres... |
| 21st July 2013 | Cut out instrument access door on head rest in front cockpit. Start bending and fitting undercarriage metal fittings... |
| 9th November 2013 | Turned fuselage upside down and marked axle location ready to build gear... |
| 17th November 2013 | Right hand side mock gear legs fitted... |
| 14th December 2013 | Made a Trip to the Hunter Valley to select the Spruce planks for the wing spars and undercarriage legs... |
| 18th January 2014 | Ripping down the Spruce planks to make the undercarriage legs... |
| 1st February 2014 | Spruce undercarriage legs and Ash blocks cut and fitted... |
| 1st March 2014 | TIG welded front rudder pedals and further work on the metal gear fittings... |
| 23rd March 2014 | undercarriage spreader bars made and fitted along with gear cable fittings... |
| 30th March 2014 | On her own 3 feet! Flipped fuselage over and fitted wheels... |
| 28th June 2014 | Undercarriage tension cables made and fitted with Nicopress fittings and 1/8 cable... |
| 12th July 2014 | Made instument panel mounting frames... |
| 28th September 2014 | Front rudder pedals and control crank TIG welded... |
| 11th November 2014 | Elevator control crank mounted to fuselage and building front instrument panel... |
| 23rd Novemeber 2014 | Fuselage engine mount metal fittings installed... |
| 8th June 2015 | Finish front instrument panel... |
| 20th June 2015 | Started building right outer wing section rear spar... |
| 27th June 2015 | Started building left outer wing section rear spar... |
| 4th July 2015 | Started building outer wing section front spars... |
| 5th October 2015 | Centre section front and rear spars built... |
| 29th March 2016 | Corvair engine block arrived in Sydney... |
| 2nd April 2016 | lower cabane strut fittings made and drilled... |
| 8th April 2016 | Road trip to Sydney to collect Corvair engine block... |
| 16th April 2016 | lower cabane strut fittings bolted to fuselage and cabane strut lower bolt bearing TIG welded... |
| 8th May 2016 | Lower control stick fittings TIG welded... |
| 25th June 2016 | Safety shaft and hybrid studs fitted to Corvair engine... |
| 17th July 2016 | Permanently attached firewall... |
| 21st August 2016 | 1-3-5 cylinder head tourqed, pushrod tubes fitted and balancer torqued... |
| 3rd Oct 2016 | Tail mounting brackets made and fitted... |
| 23rd Oct 2016 | 2-4-6 cylinder head tourqed & pushrod tubes fitted... |
| 13th Nov 2016 | Tail cable mounting fittings made and fitted... |
| 17th Dec 2016 | Remount engine mount with new brackets... |
| 25th Mar 2017 | Front rudder pedal mounting brackets fabricated and assembled. Front and rear undercarriage cross braces made, fitted and painted. Lower horizontal stabiliser cable fittings bent and fitted.... |
| 2nd April 2017 | Elevator bell crank and front rudder pedals painted. Rudder horn bent and TIG welded... |
| 8th April 2017 | Front rudder pedals mounted. Elevator horns bent and welded.... |
| 9th April 2017 | Elevator horns TIG welded and fitted... |
| 30th April 2017 | Aileron horns bent and TIG welded. Further TIG welding of control system. Paint undercarriage lower brackets.... |
| May- June 2017 | Control sysyem painted. Rudder post and bar fabricated. Side parcel trays cut out. Rear seat made with removeable centre section. Top of stainless firewall crimped and bent... |
| 18th June 2017 | Front and rear seats mounted and finished. Stainless firewall secured to Ply backing. Side parcel tray glued.... |
| 15th July 2017 | Started wiring instruments... |
| 2nd Sept 2017 | Left side of fuselage sheeted with ply. Paint various mounting plates.... |
| 17th Sept 2017 | Fabricated and fitted connecting rods between rudder bar and front rudder pedals... |
| 23rd Sept 2017 | Right side of fuselage sheeted with ply. Paint various mounting plates.... |
| 24th Dec 2017 | Fitting wing attachment plates to spars... |
| 10th Jan 2018 | Wing centre section glued together.... |
| 11th Jan 2018 | Lift strut to wing spar brackets made and phenolic bushes fitted... |
| April 2018 | Assembly of left wing section.... |
| 20th May 2018 | Building left aileron into wing section... |
| 27th May 2018 | Make Aileron horns ready for TIG welding.... |
| 3rd June 2018 | TIG weld Aileron Horns and start laminating wing tip pieces... |
| 6th Aug 2018 | Finished glueing leading edge ply covering to left wing section.... |
| 11th Aug 2018 | Wing stand built and first wing section finished... |
| 14th Oct 2018 | Started assembling the right wing section.... |
| 3rd Nov 2019 | Wing lift strut threaded fork ends TIG welded in... |
| 1st Jan 2020 | Cut lift struts to length and fitted.... |
| 21st June 2020 | Undercarriage anti rotation setup TIG welded on... |
| August 2020 | Brake caliper mounts, brake pedals and cables made and fitted.... |